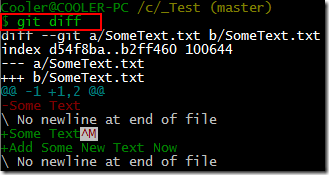
Continuing the previous article, now let’s apply some modifications on the “SomeText.txt”, but do NOT save it at the moment! Then run the command “git diff”
Save the document, and run “git diff” again! Now one can see Git has detected the difference!
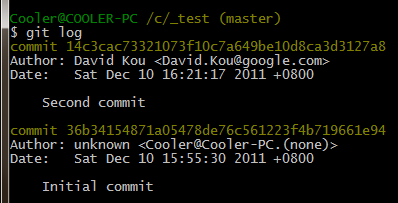
Now commit the changes to Git using git commit SomeText.txt –m “Second commit” and fire the “git log” command:
Go on a third change and commit it to Git. Now there 3 version of SomeText.txt ! To show the latest 10 revisions:
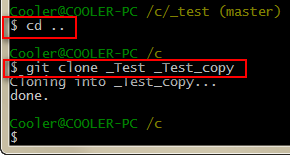
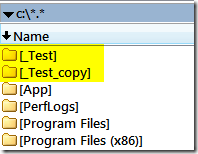
Now one can clone this existing repository with ease:
First go to the parent folder using “cd .. “ then the “git clone …” is used.
To commit all changes, use below commands:
| git commit . –m “Some Message” |
To rename a file and then commit the changes:
| git mv source.file target.file git commit –m “I have renamed the source to target” |
Previous article on Git | Next article on Git


Pingback: Git Command explained with snapshots (I) « Xinyustudio